Lost in Chupadera Wilderness

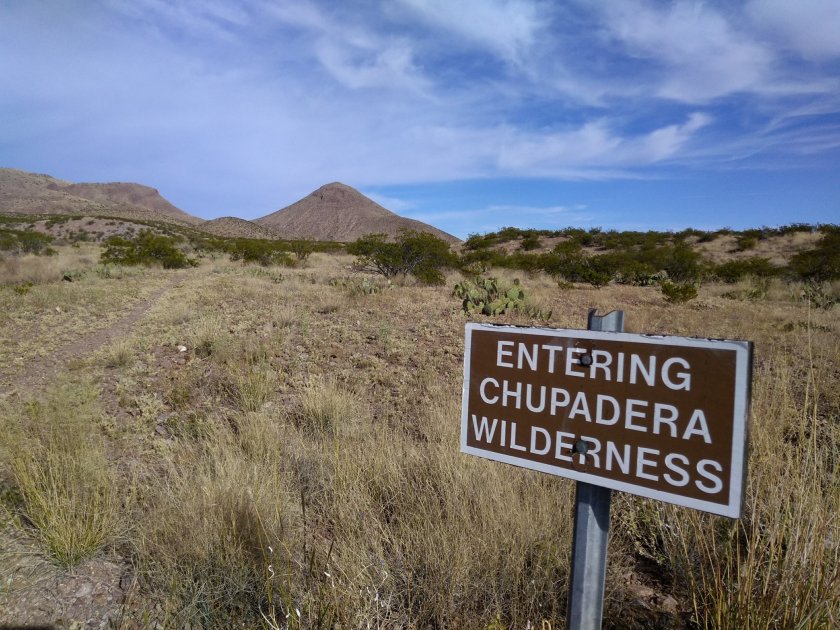
Actually, when I saw this sign I knew I was no longer lost, but had found my way back to the trail. And, considering the type of terrain I was hiking in, it’s probably not accurate to describe my experience of getting off the trail as being “lost.”

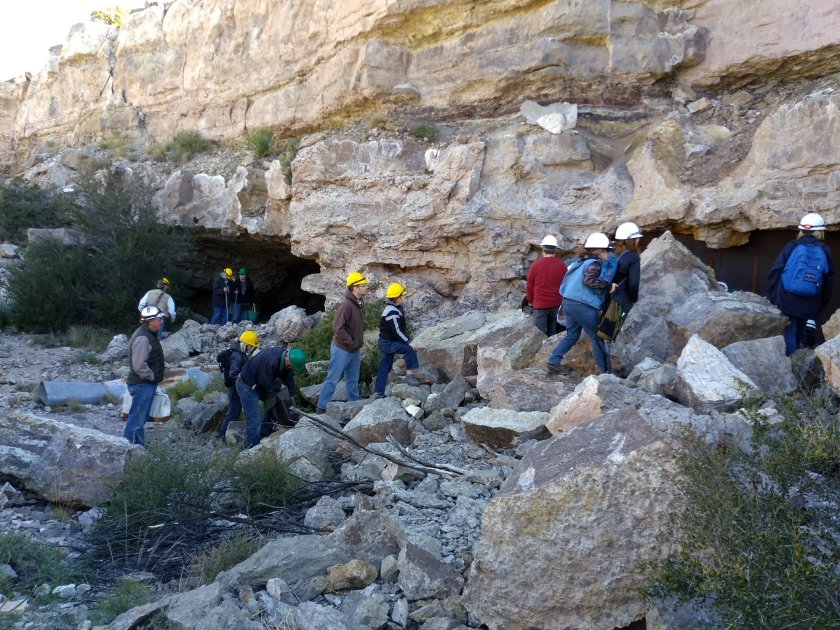
I had set off to hike the 9-1/2 mile Chupadera Wilderness National Recreation Trail, which I have hiked before.  The first couple of miles traverses Chihuahuan desert scrub dominated by creosote bush and prickly pear cactii growing in loose, gravelly soil.  Recent rains had caused the surface here to erode with multiple, small ruts weaving over and around the trail.  Since this is a wilderness trail there are no trail markers.  As I walked the first mile I was having difficulty figuring out if I was on a trail or on an eroded section of gravel.

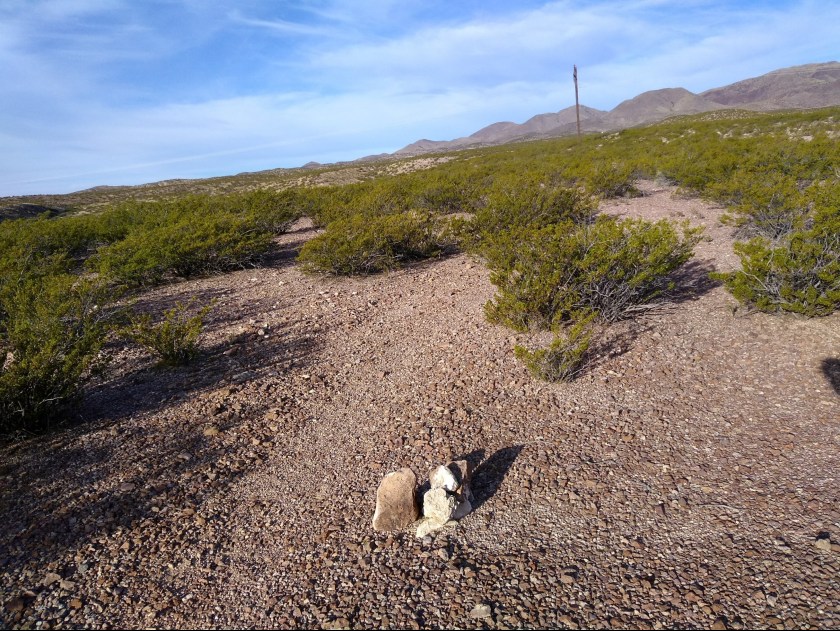
When I finally spotted some rock cairns I thought all was well.  Further along, the trail crossed under a power line and started heading down an old gravel road.  What I failed to notice was that the trail and road overlapped for only a short distance.  I kept walking on the road, eventually figuring out that there were no more rock cairns and that the road was curving back towards the parking area instead of heading west towards Chupadera Peak.

img_20181029_085334464
A friendly rock cairn.
wrong marker
I thought I was OK when I saw the sign in the distance but it was only a boundary sign when I approached it and I knew I was no longer on the trail.

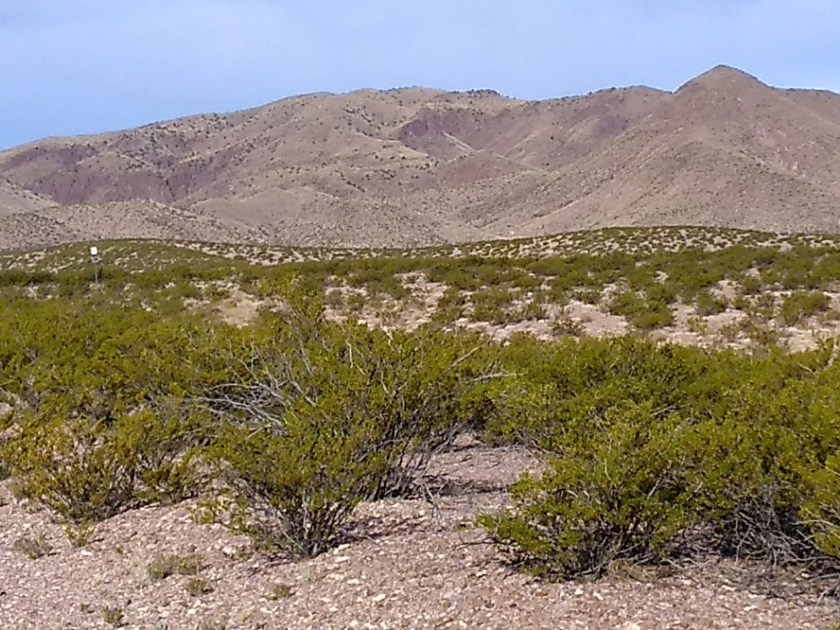
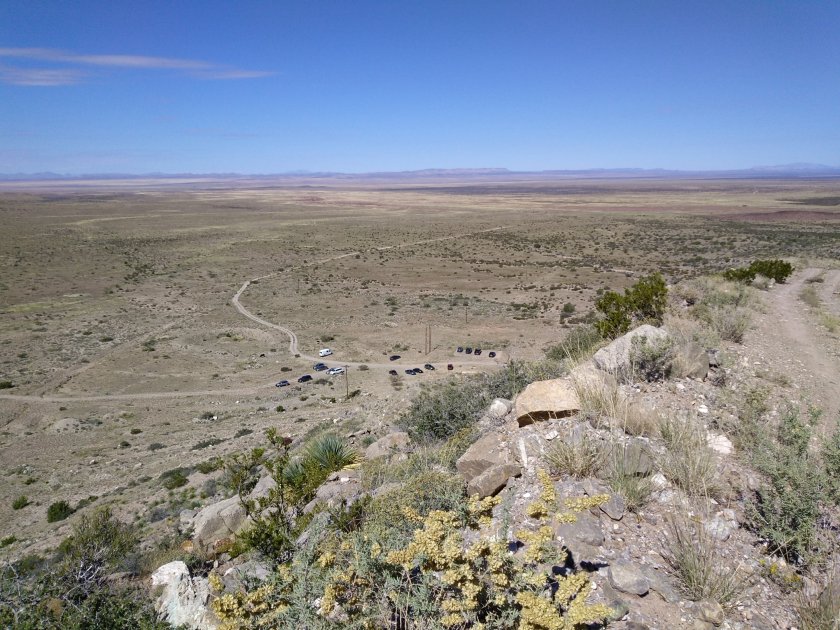
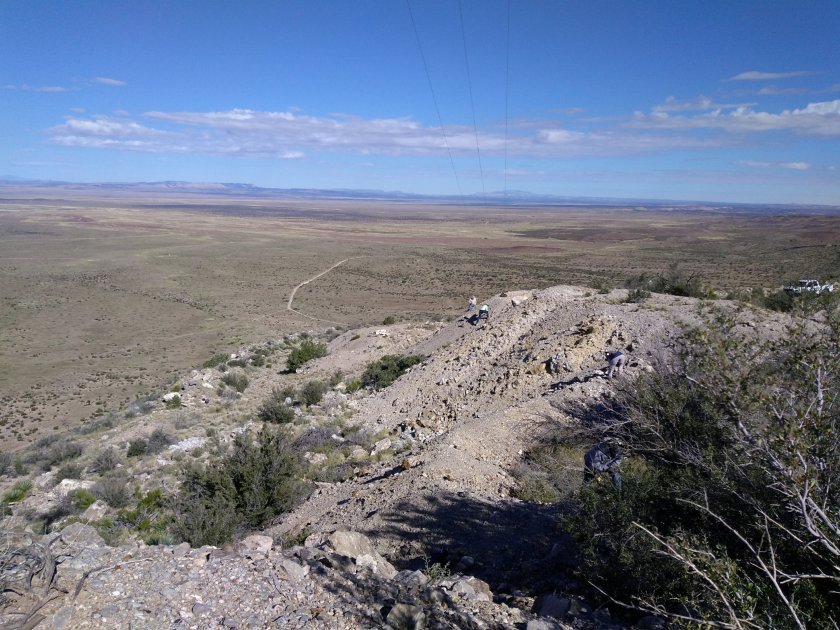
Once I realized I had lost the trail I had two choices–either backtrack to the last cairn I had seen or continue forward and see if I could reconnect to the trail. As I said, it’s hard to be truly lost in this terrain because the mountain is directly visible ahead to the west and if you get on a ridge the Rio Grande is visible behind to the east. Plus Interstate 25 bisects the trail about 2-1/2 miles from the parking lot.

When the trail gets to the Interstate there is a hiker tunnel that goes under the road. I pulled up Google Maps on my phone and by looking at the satellite imagery I was fairly certain I could see where the tunnel was. I decided to take the continuing forward option, leaving the gravel road and bushwhacking across the desert towards what I guessed would be the tunnel.

When I reached the fence line that separates the refuge from the highway, I wasn’t at the tunnel so I had to make a guess if I should follow the fence line north or south. Fortunately, I had correctly picked the tunnel on the satellite imagery. It showed the location was south of where I was and I didn’t have to walk much further before I found the tunnel. At that point I knew I was back on the trail–Whew!


Enough Rocks Already


Even before our recent trip to Germany, I think I would have understood that “Verboten” meant I was forbidden from collecting any rocks in this area. So then how was it that I came home Saturday hauling a bucket of rocks up the stairs to our apartment? Well, one of the advantages of membership in the Albuquerque Gem and Mineral Club is the opportunity to go on field trips such as this one that was a visit to a mining claim owned by a member of the club. With his permission and guidance our collecting was allowed.

A number of the group members elected to go on the guided tour of one of the underground workings.

I was more interested in exploring the geology of the area from above ground where there is plenty of fresh air, sunshine and blue sky. This was a part of New Mexico we had passed by on travels across the vast desert just north of White Sands Proving Grounds but we never had occasion to stop there. I couldn’t picture what the area would look like where we would be collecting minerals. It was several miles off the highway, jolting across rutted dirt roads, and as we approached I noticed a range of mountains ahead of us.

As I later learned, the Blanchard Mine is on the western flank of the Sierra Oscura Mountains, an area we never would have thought to explore for a hike because of its remoteness and proximity to White Sands Missile Range property. The base of the mining claim area is accessible without a high clearance vehicle, but the last 2 miles of road up the ridge required four-wheel drive and steel nerves on the narrow ledges. I parked my car at the base and rode up to the top in a more suitable vehicle with some other club members.

About halfway up. My car is down there at the bottom with several others.
An abandoned ore bin left from commercial mining days.
One of the collecting spots at the top.
A fluorite sample I collected.
Flourite crystals also form in cubic shapes.
Barite forms bladed crystals.
Imbedded black cubes are galena (lead).
The bluish green minerals are formed by weathering of copper but we didn’t know which of several it might be.

A little bit of everything from the collection.

The club member who owned the mine claim gave us an informative talk before we began collecting. I learned a lot about the history of mining in this area and about the geology. One of the most interesting facts was the difference between a patented and unpatented mining claim. If a mining claim is patented then the owner has deed to the land, as well as owning the mineral rights. Unpatented mining claims are usually located on land owned by the federal government. The owner of a patented claim can enforce “no trespassing” on the land, as opposed to this mine which was unpatented and located on BLM land. As the sign said, the public could be prevented from collecting on the site, but anyone could come out and explore the area. That’s good to know for the future when we might want to do some hiking instead of rock collecting. We have limited space in our apartment so I need to focus on enjoying hikes in wonderful, rocky New Mexico, instead of bringing home these irresistible specimens that I’m then struggling to find room for.